

In Part I of this two-part article, we’ll take a look at an easy method of sharing tools/apps/utilities using Brew between Apple Macs. It’s a convenient way to share home-grown tools to friends, coworkers, and random people on the internet quickly and easily. In Part II , we’ll look at how to automate away some of the chore of creating releases ourselves, by leveraging the power of popular CI/CD tool, GitHub Actions.
Prerequisites / Disclaimer#
I’ll assume you’ve already got Brew installed and have a basic understanding of its purpose as a package manager and are comfortable with it managing your packages.
If this doesn’t sound like you yet, I strongly recommend that you take a look at https://brew.sh before proceeding with any of the below. While we won’t be doing anything intentionally destructive, we will be installing/upgrading some unix packages that could override currently installed native versions. For most people this won’t matter (and could even improve things), but if you’re a developer or software engineer this may cause some unexpected or undesired effects.
Basic knowledge of Ruby (I’ll provide examples anyway).
Basic knowledge of Git and GitHub (there’ll be screenshots and examples for GitHub).
Distributing tools with Brew#
You may already have your own app or tool that’s ready to share using Brew. For demonstration purposes for this article, I’ve thrown together a command-line tool named joke, because I wanted to demonstrate how to specify dependencies, and most hello world stuff I could find doesn’t have any. joke prints a random joke on the command-line from the icanhazdadjoke.com API, in various amusing formats.
Setting things up#
Brew has a couple of its own prerequisites, such as your binary (or binaries) in a tarball, a shasum of that tarball, and a ruby formula to give Brew the info it needs to manage the install of the tool. All this combined forms the package - or formula - that Brew will manage.
We will be using GitHub throughout this article, so first of all, publish your project on GitHub. Later on, we’ll learn later how to use GitHub Actions to automate some of the chore related to the Brew package creation. Note the GitHub repository URL as we will need that shortly.
IMPORTANT - Your new repository MUST be named with a prefix of “homebrew-” to allow the short-hand (opposed to having to supply the full URL to the repository when issuing brew commands such as brew install). Your app can be called whatever you like, but the repository must be named like so. So for my examplejoketool, the repository is named homebrew-joke, but the tool remains simplyjoke. There’s some Brew magic that lets us refer to the shorter name, which I’ll touch on later.Create a directory within your project/repository to contain the tarballs. In the following examples I’ll be using the directory named
dist.
$ mkdir dist- Create a tar containing the tool’s files. In my example, there’s only one, named
joke. It’s worth mentioning here that it’s important to include a version number. This enables us to release new versions and for anyone who uses this tool, to upgrade it to those new versions. This is the first version of this particular one, so we’ll start with0.0.1using Semantic Versioning pattern.
$ tar -cvf dist/joke-0.0.1.tar.gz joke- Get a shasum for the tar (needed for the Formula file next).
$ shasum -a 256 dist/joke-0.0.1.tar.gz | awk '{printf $1}'- Create a formula in the root of the repo so Brew knows what to install, which dependencies it needs, versions and file locations for the app.
Below you’ll find an example for thejokeapp. It’s a ruby file because Brew is written in Ruby.
Filename:joke.rb
class Joke < Formula
  desc "Prints a random joke on the command-line"
  homepage "https://github.com/chris-gillatt/homebrew-joke"
  url "https://github.com/chris-gillatt/homebrew-joke/releases/download/v0.0.1/joke-0.0.1.tar.gz"
  sha256 "8c47f8c3cd9137b0fa476c0e6ae084ee29cde94d613250a8532bb333351b6080"
  version "0.0.1"

  depends_on "curl"
  depends_on "figlet"
  depends_on "cowsay"
  depends_on "lolcat"
  depends_on "coreutils"

  def install
    bin.install "joke"
  end
end
Click to expand for a drill-down of this file
In the formula file for joke above, we can see various metadata required for the distribution to function. Let’s dig into what this file represents.
line number(s) | Description |
|---|---|
| 1 | The class name should begin with a capital letter (This is a Brew rule). This should match the name of the tool. |
| 2 | A short purpose statement for the tool. |
| 3 | The URL of the repository that contains the homebrew app. |
| 4 | The URL of the release asset files. |
| 5 | Contains the sha256 sum we generated earlier in step 3 above. |
| 6 | Version number of our app |
| 8-12 | Dependencies for our app to function. These will be attempted to be installed with our app if they are not yet present |
| 14-17 | What is installed when a "Brew install..." command is issued |
- Finally, before you commit and push those changes to the repository, make sure you use a
.gitignorefile to prevent committing of thetarballordistdirectory. We don’t need to commit them as we’ll use GitHub Release Assets instead. This keeps your repositories lean and quick to clone down.
**/dist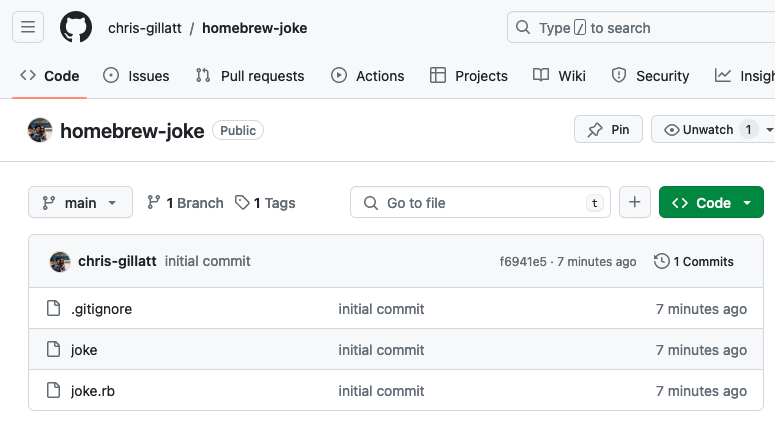
*.tar.gz- Now we can commit and push those changes. Your repository will look something like this:
Manually Creating a release on GitHub#
Now we have all the required files, next we need to package things up so that Brew can find them. We can create a release manually directly using curl commands, or by using a script, or better still, we can use the new GitHub CLI.
Depending on your use-case, one may be preferable to the other, but I’m all about the GitHub CLI these days; it makes lots of things way simpler. Creating a release is no exception.
- You can use Brew to install the GitHub CLI.
$ brew install gh- Now authenticate by following the prompts so that we can push our changes to GitHub.
$ gh auth login? What account do you want to log into? GitHub.com
? What is your preferred protocol for Git operations on this host? HTTPS
? Authenticate Git with your GitHub credentials? Yes
? How would you like to authenticate GitHub CLI? Login with a web browser
! First copy your one-time code: xxxx-xxxx
Press Enter to open github.com in your browser...
✓ Authentication complete.
- gh config set -h github.com git_protocol https
✓ Configured git protocol
✓ Logged in as chris-gillatt- Push our new release to GitHub.
$ gh release create v0.0.1 ./dist/joke-0.0.1.tar.gz --title "0.0.1" --generate-notes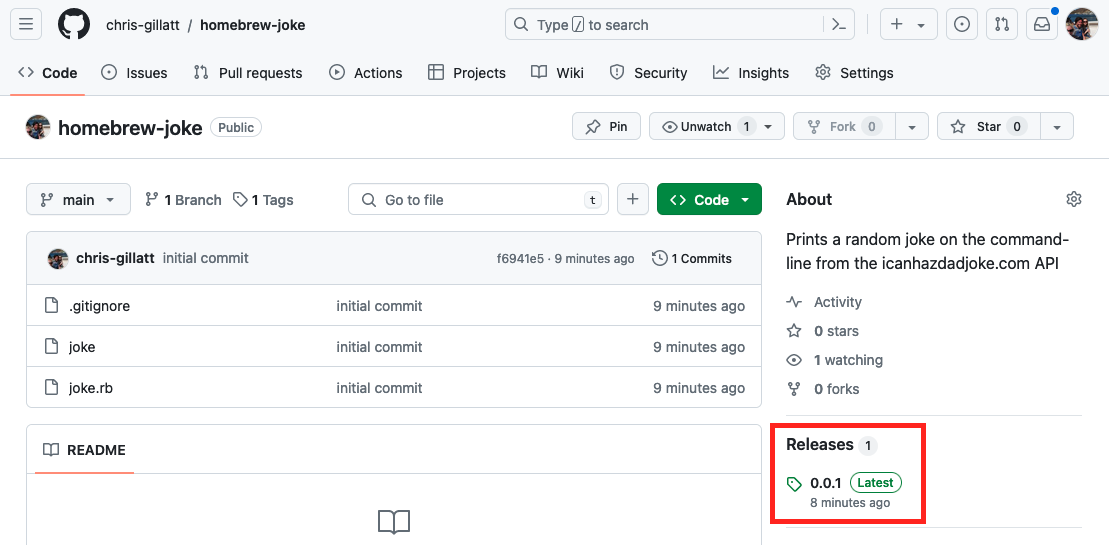
Brew Tapping#
In Brew, tapping is the process of informing the package manager client where a homebrew application resides; i.e, the repository URL.
Let’s tap that app!
$ brew tap chris-gillatt/jokeNOTE - we can choose to omit the “homebrew-” prefix when tapping. Brew is smart enough to be able to find the repository because it’s automatically looking for the “homebrew-” prefix.
Installing using Brew 🍺#
Function | command |
|---|---|
| Install the app | brew install joke |
| Uninstall the app | brew remove joke |
| Show app info | brew info joke |
$ brew install joke
==> Downloading https://formulae.brew.sh/api/formula.jws.json
########################################################################################################################################################################## 100.0%
==> Downloading https://formulae.brew.sh/api/cask.jws.json
########################################################################################################################################################################## 100.0%
==> Fetching chris-gillatt/joke/joke
==> Downloading https://github.com/chris-gillatt/homebrew-joke/releases/download/v0.0.1/joke-0.0.1.tar.gz
==> Downloading from https://objects.githubusercontent.com/github-production-release-asset-2e65be/800356494/dd71e6a3-6c91-488d-92dc-0d07e788d0a8?X-Amz-Algorithm=AWS4-HMAC-SHA256&X-Amz-Credential=releaseassetprodu
########################################################################################################################################################################## 100.0%
==> Installing joke from chris-gillatt/joke
🍺  /opt/homebrew/Cellar/joke/0.0.1: 3 files, 7KB, built in 1 second
==> Running `brew cleanup joke`...
And now we can test that it installed correctly…
$ joke
I used to work for an origami company but they folded.
…and we can see that the tool appears to be installed and functions as intended.
So far so good.
Updates#
Updates work for your homebrew tools in the exact same way as they do for well-known core apps like curl or gh. To get updates, we must first update Brew’s local state. Updates through tapped apps behave in the same way.
To update the state:
$ brew updateThen we can update to the latest available version, just like any other app distributed with Brew:
$ brew upgrade joke==> Upgrading 1 outdated package:
chris-gillatt/joke/joke 0.0.1 -> 0.0.2
==> Fetching chris-gillatt/joke/joke
==> Downloading https://github.com/chris-gillatt/homebrew-joke/releases/download/v0.0.2/joke-0.0.2.tar.gz
==> Downloading from https://objects.githubusercontent.com/github-production-release-asset-2e65be/800356494/309c2626-66d6-45cf-b6b2-29fc10a41e9c?X-Amz-Algorithm=AWS4-HMAC-SHA256&X-Amz-Credential=releaseassetprodu
########################################################################################################################################################################## 100.0%
==> Upgrading chris-gillatt/joke/joke
0.0.1 -> 0.0.2
🍺 /opt/homebrew/Cellar/joke/0.0.2: 4 files, 27.9KB, built in 1 second
==> Running `brew cleanup joke`...Uninstall the app and its dependencies with:
$ brew remove joke✗ brew remove joke
Uninstalling /opt/homebrew/Cellar/joke/0.0.2... (4 files, 27.9KB)
==> Autoremoving 3 unneeded formulae:
cowsay
figlet
lolcat
Uninstalling /opt/homebrew/Cellar/cowsay/3.04_1... (63 files, 82.8KB)
Uninstalling /opt/homebrew/Cellar/lolcat/100.0.1... (262 files, 598.4KB)
Uninstalling /opt/homebrew/Cellar/figlet/2.2.5... (677 files, 9.5MB)Next up…#
🚀 Cool right? But wait, there’s more…
The thing is, each time we update our code and push it to GitHub so that others can receive these updates, we have a list of chores to do to create a new release:
- Generate a new tarball.
- Obtain the new sha256 sum of our tarball.
- Update our formula file with the new version and shasum.
- Push the changes.
- Create a new release.
Wouldn’t it be great if we could automate some of this away?
Well, we can do just that!
Check out Distributing tools with Brew and GitHub Actions - Part II to find out how!